One-Room Non-DVR:

Replacement Receiver Setup
1
2
If you can, set the new receiver on top of the old one and transfer the cables one at a time.
Otherwise, carefully note the labels on the old receiver where each cable is connected before disconnecting the cables.

One-Room DVR:
3
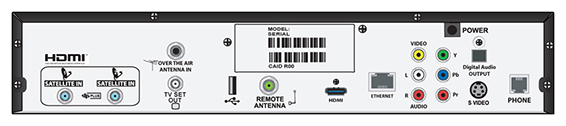
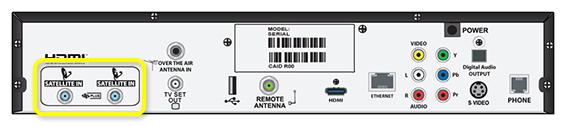
Screw the coax cables into the ports labeled Satellite In. Follow the cables to the wall, ensuring all connections are hand-tight. Follow the diagram that matches your receiver model.
One-Room Non-DVR:

One-Room DVR:
4
Connect your video cable to the back of the receiver and make sure it is connected tightly at the TV as well.
5
Unscrew the remote antenna from the old receiver and connect it to the new receiver.
6
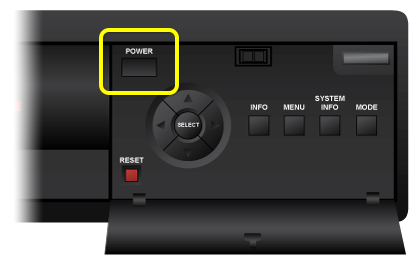
Plug the electrical cord of the receiver into an electrical outlet.
Use the Power button on the front of the receiver to power it on.
7
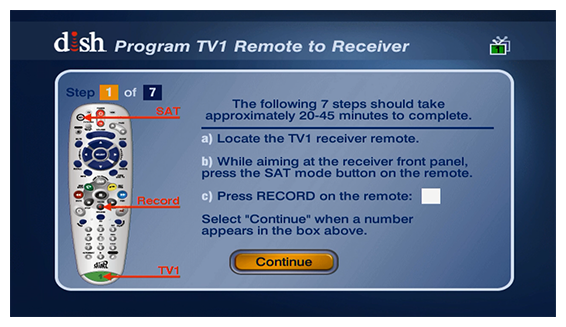
On the TV screen, you will see the Installation Wizard.
8
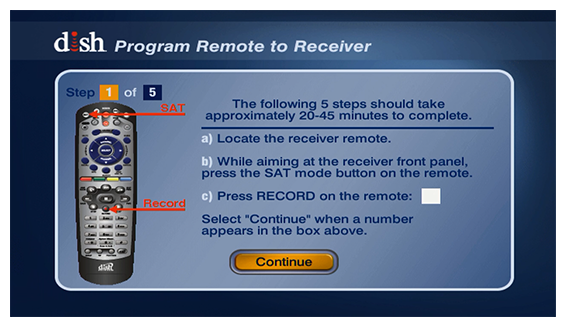
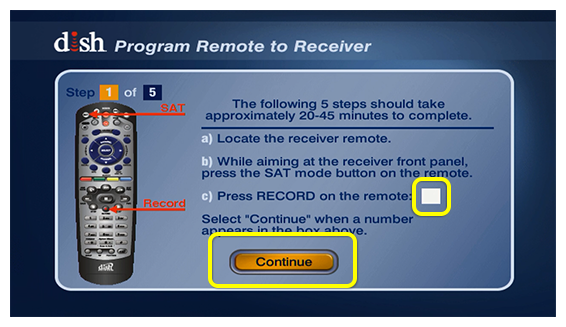
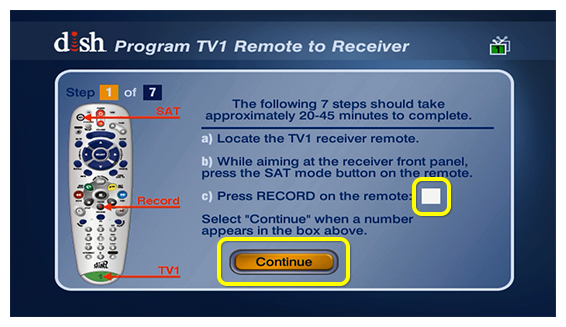
On your DISH remote, press the SAT button, then the Record button. A number will appear on the TV screen in the box to the right.
Use the remote to select the Continue button at the bottom of the screen.
9
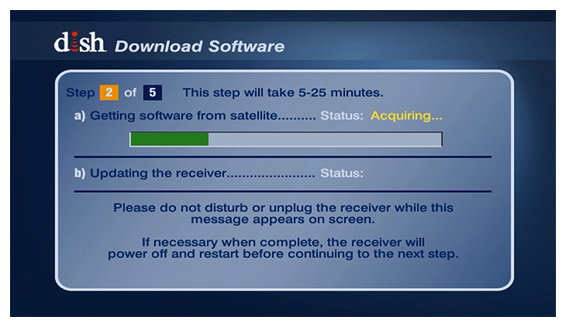
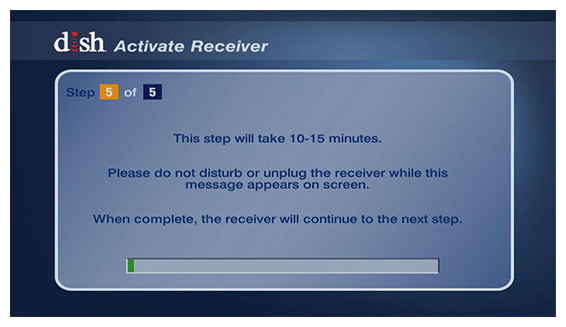
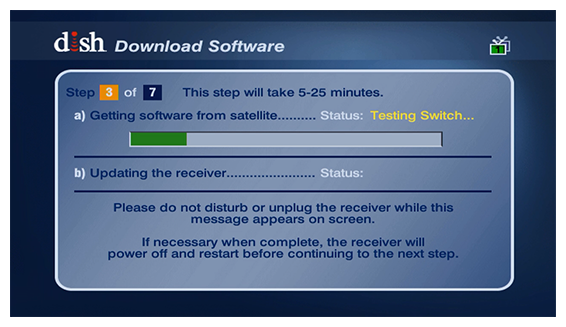
The receiver will download software automatically, then proceed to the next step on its own (may take 20 minutes).
If the receiver does not go to the next step after 20 minutes, contact us.
10
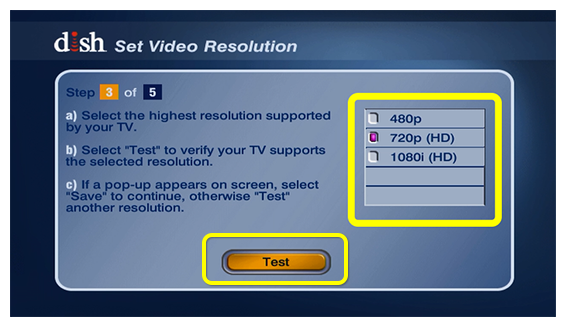
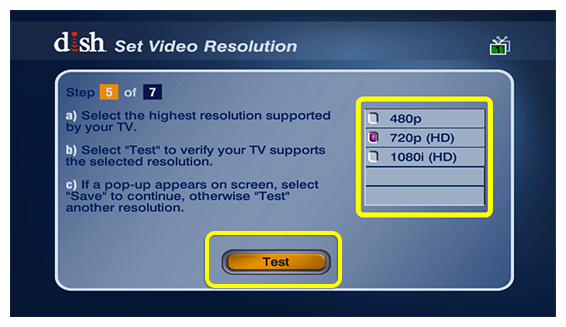
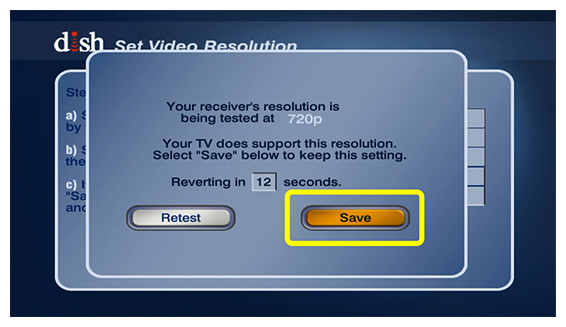
Choose the best resolution that your TV supports. If you aren't sure, check your TV documentation or just try 1080i (HD) first.
On the TV screen, select Test then Save to save the resolution and continue to the next step.

11
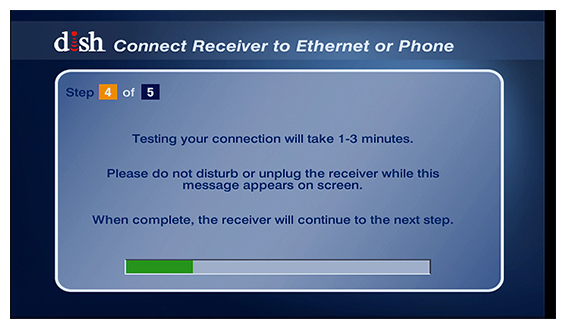
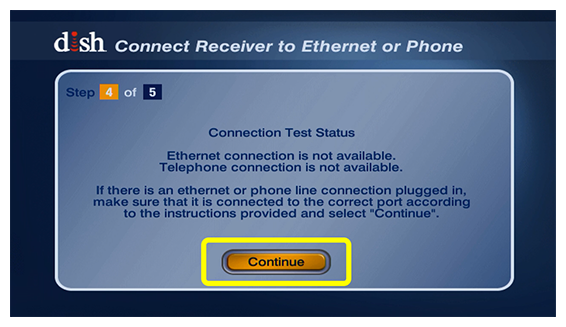
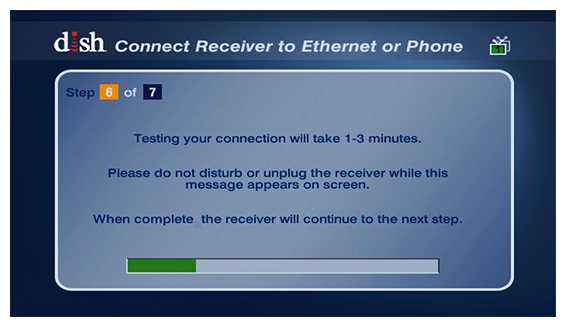
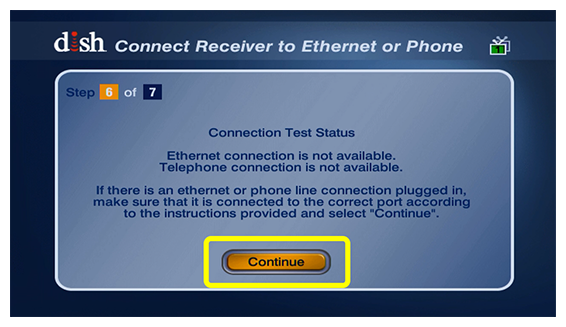
The receiver will test for phone and internet connection automatically (may take up to 3 minutes). When the test is complete, select the Continue button at the bottom of the screen.
If the test does not complete after 3 minutes, contact us.
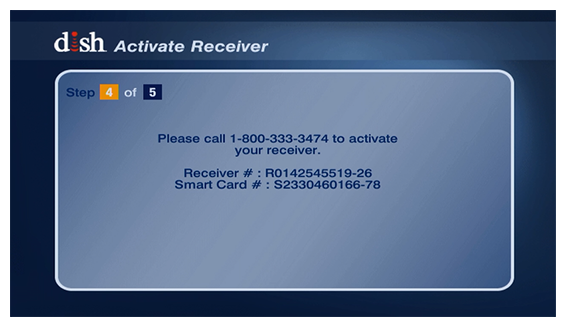
12
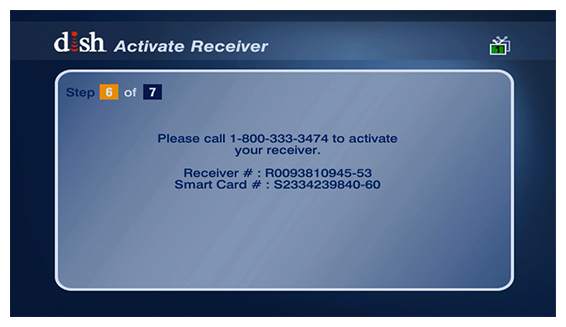
If your receiver is internet-connected, it may begin activation automatically.
If it is not connected or does not begin activating, you may activate the receiver by logging into your account at mydish.com/equipment or by contacting us.
13
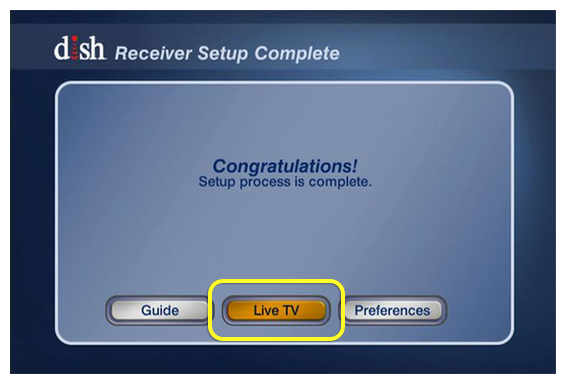
Select the Live TV button on the screen.
14
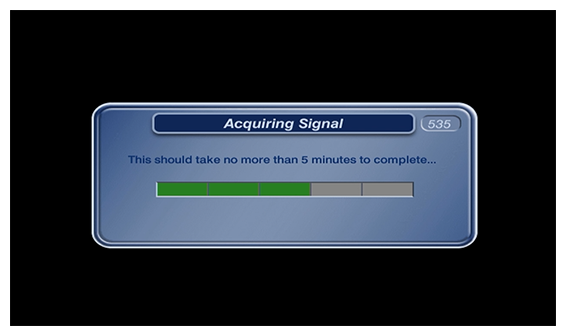
The receiver may take up to 5 minutes to acquire signal.

15
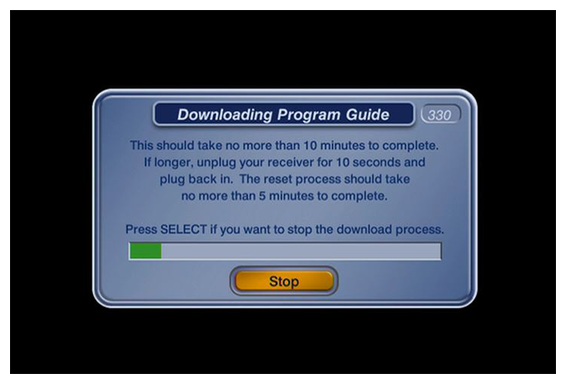
The program guide may take up to 10 minutes to download.
17
You do not need to return your old receiver to DISH. You may recycle your receiver, or feel free to properly dispose of it.
18
Please contact us for further assistance. Our technical experts will confirm the steps you've done and continue troubleshooting with additional steps.
1
2
If you can, set the new receiver on top of the old one and transfer the cables one at a time.
Otherwise, carefully note the labels on the old receiver where each cable is connected before disconnecting the cables.

Did this fix your issue?
3
Screw the coax cables into the ports labeled Satellite In and Home Distribution. Follow the cables to the wall, ensuring all connections are hand-tight.

4
Connect your video cable to the back of the receiver and make sure it is connected tightly at the TV as well.
5
Unscrew the remote antenna from the old receiver and connect it to the new receiver.
6
Plug the electrical cord of the receiver into an electrical outlet.
Use the Power button on the front of the receiver to power it on.
7
On the TV screen, you will see the Installation Wizard.
8
On your DISH remote, press the SAT button, then the Record button. A number will appear on the TV screen in the box to the right.
Use the remote to select the Continue button at the bottom of the screen.
9
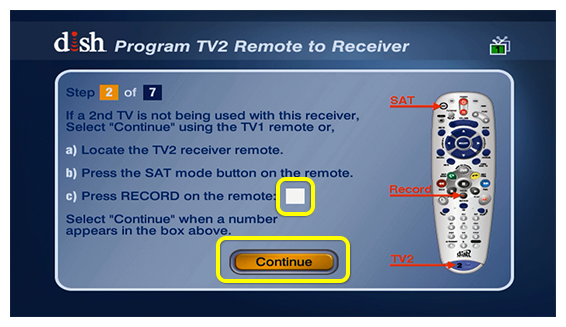
This receiver is designed to run two TVs. If you have a second TV running off this receiver, get the remote from that room and bring it back to the room where you are setting up the new receiver.
If you don't have a second TV, skip to step 11.
10
On your secondary DISH remote, press the SAT button, then the Record button. A number will appear on the TV screen in the box to the right.
Now put the secondary remote back in the room with the secondary TV, then continue setting up the new receiver.
Use the primary DISH remote to select the Continue button at the bottom of the screen.
11
The receiver will download software automatically, then proceed to the next step on its own (may take 20 minutes).
If the receiver does not go to the next step after 20 minutes, contact us.
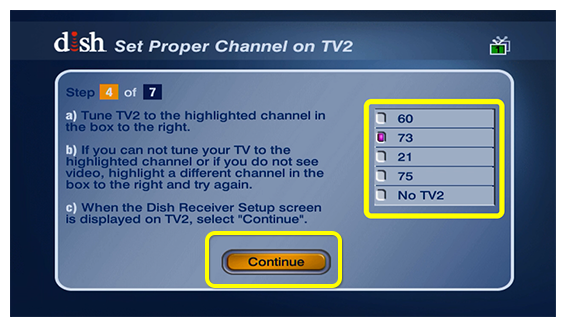
12
On the TV screen, select the channel number that your secondary TV is tuned to.
If you aren't sure which channel to select, go to your secondary TV and check it for a DISH message. When you see a DISH message on your secondary TV the correct channel number is selected.
Select the Continue button at the bottom of the screen.
13
Choose the best resolution that your TV supports. If you aren't sure, check your TV documentation or just try 1080i (HD) first.
On the TV screen, select Test then Save to save the resolution and continue to the next step.
14
The receiver will test for phone and internet connection automatically (may take up to 3 minutes). When the test is complete, select the Continue button at the bottom of the screen.
If the test does not complete after 3 minutes, contact us.
15
If your receiver is internet-connected, it may begin activation automatically.
If it is not connected or does not begin activating, you may activate the receiver by logging into your account at mydish.com/equipment or by contacting us.
16
Select the Live TV button on the screen.

17
The receiver may take up to 5 minutes to acquire signal.
18
The program guide may take up to 10 minutes to download.

20
You do not need to return your old receiver to DISH. You may recycle your receiver, or feel free to properly dispose of it.
21
Please contact us for further assistance. Our technical experts will confirm the steps you've done and continue troubleshooting with additional steps.
 Your privacy choices